Getting Started: Download, Install and Start with XDMCP
- Support
- Netsarang Support
- Support (Unlicensed)
This tutorial will guide you through downloading, installing and executing Xmanager. Please follow the following procedures to begin with Xmanager.
Download
You can use this program 30 days only for evaluation and that any other use requires the purchase of a license.
- Download Xmanager Power Suite
- Download Xmanager
Installation
- When you execute the downloaded file, InstallShield Wizard will begin the installation process.
- Follow the instruction of InstallShield Wizard.
- When the install is completed, an Xmanager icon will be placed on the desktop.
.png?version=1&modificationDate=1628572830573&cacheVersion=1&api=v2)
Start with XDMCP (Xmanager)
To access a full graphic desktop of remote Unix/Linux server, go through the following steps to start with the XDMCP connection method. You can also start with Xstart if you need to run only a single remote X application instead of a full desktop.
- Double click on the Xmanager folder icon to open up the program folder.
.PNG?version=1&modificationDate=1628572851479&cacheVersion=1&api=v2&width=707&height=566)
Use Xmanager to connect to a remote UNIX/Linux system that provides XDM and CDE environment. When you start Xmanager, a list of available hosts are dynamically displayed.
.PNG?version=1&modificationDate=1628576385770&cacheVersion=1&api=v2&width=650&height=537)
Note
Xmanager automatically finds the available hosts within the local network.
If you can not find your remote machine from the list, please check the following Xmanager FAQ Link to configure your server for XDMCP connection.
When you double click on an icon from the list of available hosts,Xmanagerinstantly creates a connection to the host.
When you are successfully connected to a remote host, a login window such as following appears.
Note
If you can not see the login screen, you may have firewall setup between your computer and the remote host.
Please refer to the following Xmanager FAQ Link.Enter the username and password to logon to the system. When your username and password are accepted, a desktop environment such as following will appear.
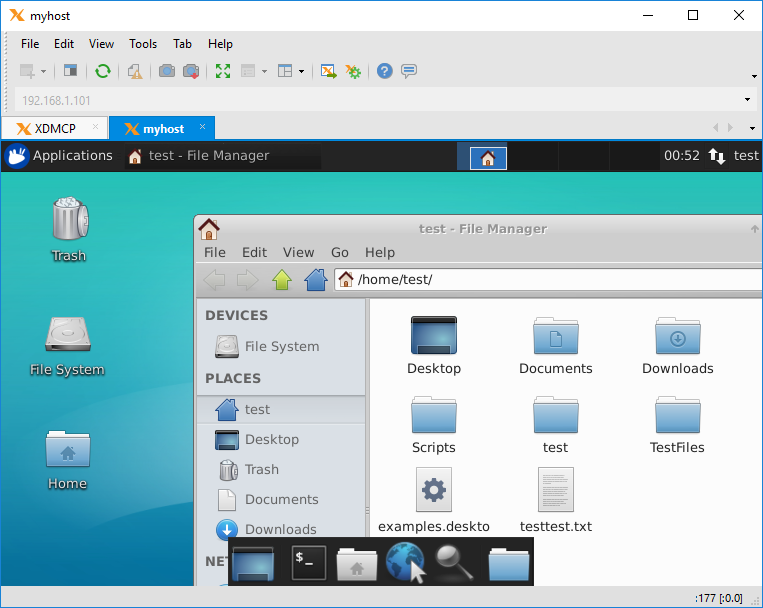
Note
If the remote desktop does not start, you may need to edit your login scripts (.cshrc, .profile, .bashrc, etc). Refer to the following Xmanager FAQ Link.
If you have any problems in downloading, installing or starting Xmanager, please email us at: support@netsarang.com.