/
Creating and using Xmanager profiles
Creating and using Xmanager profiles
- Support
Owned by Support
May 21, 2018
The Xconfig utility can create multiple Xmanager profiles. This feature is useful when you have to adjust Xmanager options differently for each session.
To create a server profile:
- Run Xconfig.
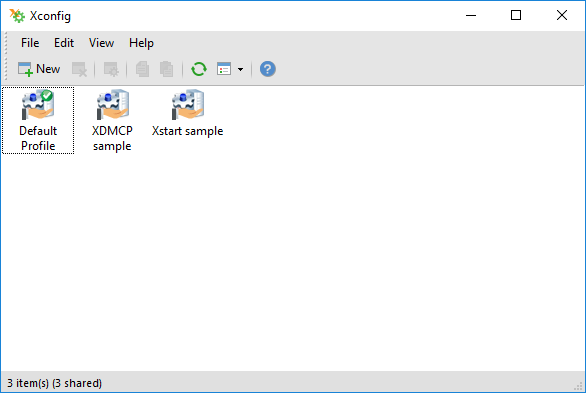
- In the File menu, click New. RESULT: A New Profile is created on the Xconfig window.
- Double-click on the new profile. RESULT: A Properties dialog box opens.
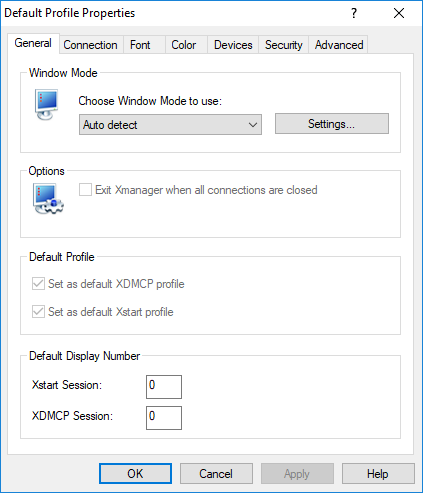
- Configure options on the dialog box.
- Click OK.
To set a profile as a default Xstart profile:
- Run Xconfig.
- Right-click on the profile that will be set as a default Xstart profile. RESULT: A menu appears.
- Click Set as Default Xstart Profile.
To set a profile as a default XDMCP profile:
- Run Xconfig.
- Right-click on the profile that will be set as a default XDMCP profile. RESULT: A menu appears.
- Click Set as Default XDMCP Profile.
To share a profile with other users:
- Run Xconfig.
- Right-click on the profile that will be shared with other users on the local machine.
- Click Sharing.
To send a profile to another user via email:
- Run Xconfig.
- Right-click on a profile. RESULT: A menu appears.
- Point to Send To and then click Mail Recipient. RESULT: A mail composer opens with the profile attached.
To export a profile to a folder:
- Run Xconfig.
- Drag a profile and drop it on a folder.
To import a profile to Xconfig:
- Run Xconfig.
- Drag a profile and drop it on Xconfig.
Related content
About Xmanager
About Xmanager
More like this
Static XDMCP Session
Static XDMCP Session
More like this
RDP Sessions
RDP Sessions
More like this
VNC Sessions
VNC Sessions
More like this
Startᅠ
Startᅠ
More like this
Starting with XDMCP
Starting with XDMCP
More like this