Ubuntu 18.04, 18.10, 19.04, 20.04 XDMCP Configuration
- Support
- Netsarang Support
The above versions of Ubuntu's default user environment, Gnome(Ubuntu), use hardware acceleration to render the graphics. Therefore, when remotely connecting with Xmanager, you may not be able to access the the desktop user environment or if you are able to connect, it will run very slowly.
As such, if you are using the above Ubuntu versions, you will have to use a different desktop user environment.
Use the following instructions to install Xfce as the desktop user environment so you may connect to Ubuntu.
These instructions require root privileges or the sudo command. Be extra careful when making configurations with root privileges.
XDMCP Configuration
Install LightDM
$ sudo apt install lightdm
Select 'lightdm' from the screen asking what to use the default display for installation.LightDM Configuration
Configure the /etc/lightdm/lightdm.conf file as follows. If the file does not exist, create it.[XDMCPServer] enabled=true
Firewall Configuration
$ sudo service ufw stop
- Open UDP port 177 from the PC to the remote host direction.
- Open incoming TCP ports 6000~6010 from the remote host to your PC
If you wish to temporarily remove the firewall to identify an issue, you can use the 'iptables -F' command. By default, iptables is not enabled on Ubuntu. Use the iptables -L command to verify whether or not it is running. For more information on the firewall consult your Ubuntu manual or contact Ubuntu technical support.Restart XDMCP service daemon
$ sudo systemctl disable gdm
$ sudo systemctl stop gdm
$ sudo systemctl enable lightdm
$ sudo systemctl start lightdm
Create Xmanager Session
When using LightDM, there may not be a response to an XDMCP broadcast. Therefore, depending on the Xmanager version, the sessions may not appear on Xmanager's list. If this is the case, try creating a new XDMCP session through the File menu or directly inputting the IP Address or Host Name in the address bar.
Installing the Xfce Desktop Environment
Install a new user desktop environment (Xfce)
$ sudo apt-get update
$ sudo apt-get install xubuntu-desktop
Apply the new user desktop environment by restarting the XDMCP daemon
$ sudo service lightdm restart
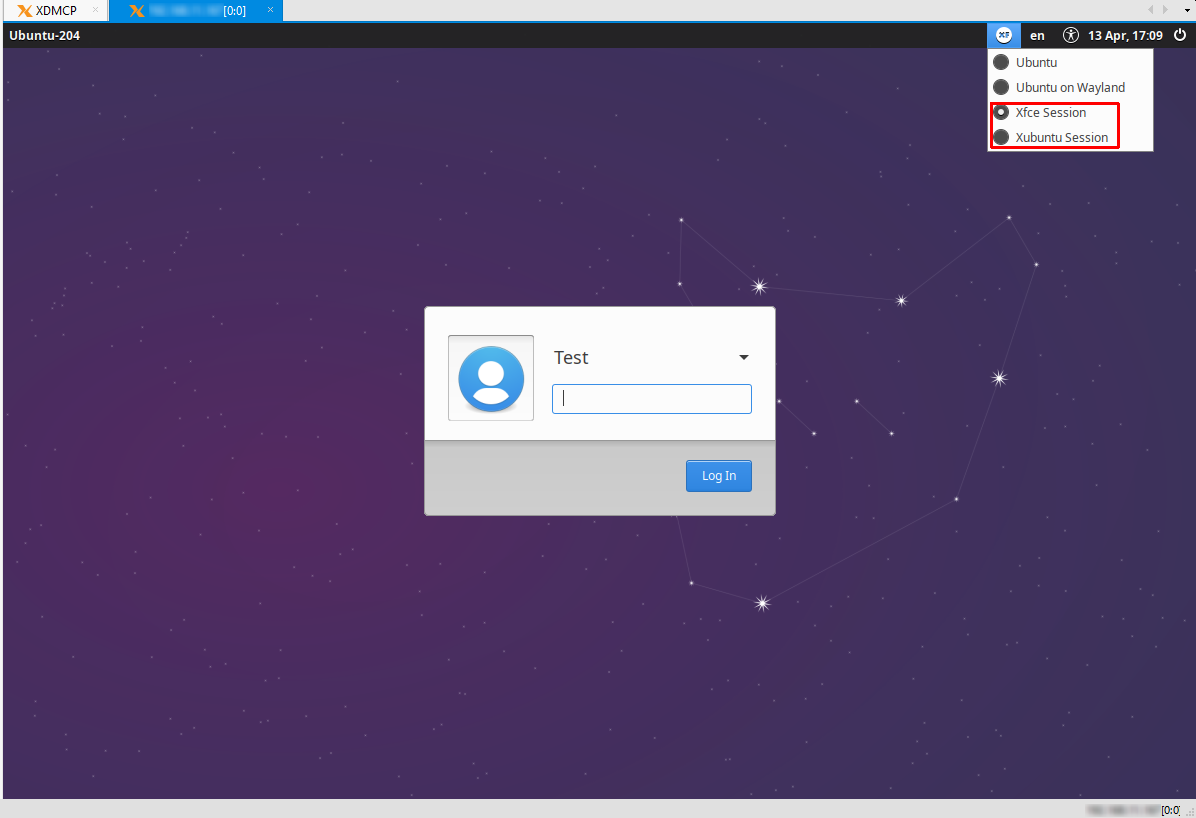
- After connecting with Xmanager, select the Xfce or Xubuntu session from the login screen